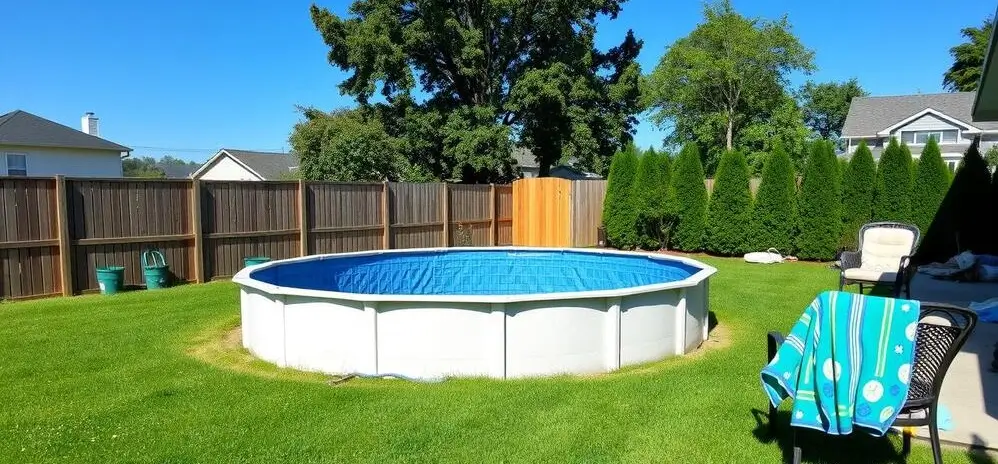
Turning your backyard into a cool oasis is easier than ever with this guide. It’s perfect for creating a private swimming spot or improving your outdoor area. This step-by-step guide will help you set up your above ground pool from start to finish.
You’ll learn how to pick the best spot and prepare the ground. You’ll also find out how to assemble the pool, install the liner, and set up the filtration system. This way, you’ll have a successful and fun above ground pool setup.
Key Takeaways
Understand the essential tools and materials required for above ground pool installation.
Discover the best practices for choosing the ideal location and preparing the ground.
Learn the step-by-step process for assembling the pool, installing the liner, and setting up the filtration system.
Ensure the safety and longevity of your above ground pool with proper water maintenance and fencing requirements.
Transform your backyard into a private oasis with a DIY above ground pool setup.
Essential Tools and Materials for Above Ground Pool Installation
Getting ready for your above ground pool setup means collecting the right tools and materials. This list will make sure you have everything for a successful pool installation. It will also help you create a safe and fun outdoor space.
Required Safety Equipment
Protective gloves
Safety goggles
Non-slip work boots
Hard hat (for overhead work)
Measurement and Marking Tools
Tape measure
Marking chalk or spray paint
Level
Stake and string
Construction Materials Checklist
Along with the pool kit, you’ll need these materials for a complete setup:
With the correct above ground pool setup tools and materials, you’re ready to make your dream backyard. Next, we’ll cover the above ground pool leveling hacks process.
Choosing the Perfect Location for Your Pool
Finding the right spot for your above ground pool is key. It can change your garden and make your outdoor space better. When picking a spot for above ground pool ground prep, the location matters a lot.
Think about these things when picking a spot:
Sunlight Exposure: Look for a spot that gets a lot of sunlight. This makes the pool look better and keeps the water warm.
Proximity to Utilities: Pick a place near power outlets, water, and drainage. This makes setting up and keeping the pool easy.
Privacy and Noise Levels: Find a spot that’s private but not too quiet. You want it to be peaceful but not boring.
Zoning Regulations: Check your local laws to make sure your spot is okay. You don’t want any trouble.
By thinking about these things, you can transform the garden. You’ll make a beautiful spot that fits well with your yard. The right spot makes your pool better to use and enjoy.
Factors to Consider
Importance
Sunlight Exposure
High
Proximity to Utilities
High
Privacy and Noise Levels
Moderate
Zoning Regulations
High
“The perfect pool location can transform your backyard into a true oasis.”
Ground Preparation and Leveling Techniques
Setting up an above ground pool needs a solid foundation. This guide will help you prepare the ground and level it. This ensures your pool is stable and lasts long.
Soil Testing and Assessment
Before starting, test the soil where your pool will go. Find out what the soil is like, how it drains, and any problems. This info helps pick the right leveling methods for a strong base.
Leveling Methods for Different Terrains
The leveling method depends on your yard’s terrain. For flat areas, simple manual leveling works. But for uneven spots, you might need above ground pool leveling hacks or a laser level for a perfect base.
Creating a Stable Foundation
After leveling, make a solid base for the pool’s weight. You might add crushed stone, compact the soil, or use above ground pool ground prep material. This ensures your pool sits firmly.
Leveling Method
Terrain Suitability
Recommended Base Material
Manual Leveling
Flat, level surfaces
Compacted soil, crushed stone
Laser Leveling
Uneven or sloped areas
Crushed stone, specialized pool base
Above Ground Pool Leveling Hacks
Challenging or irregular terrain
Specialized pool base, concrete
“Proper ground preparation and leveling are essential for the long-term stability and enjoyment of your above ground pool.”
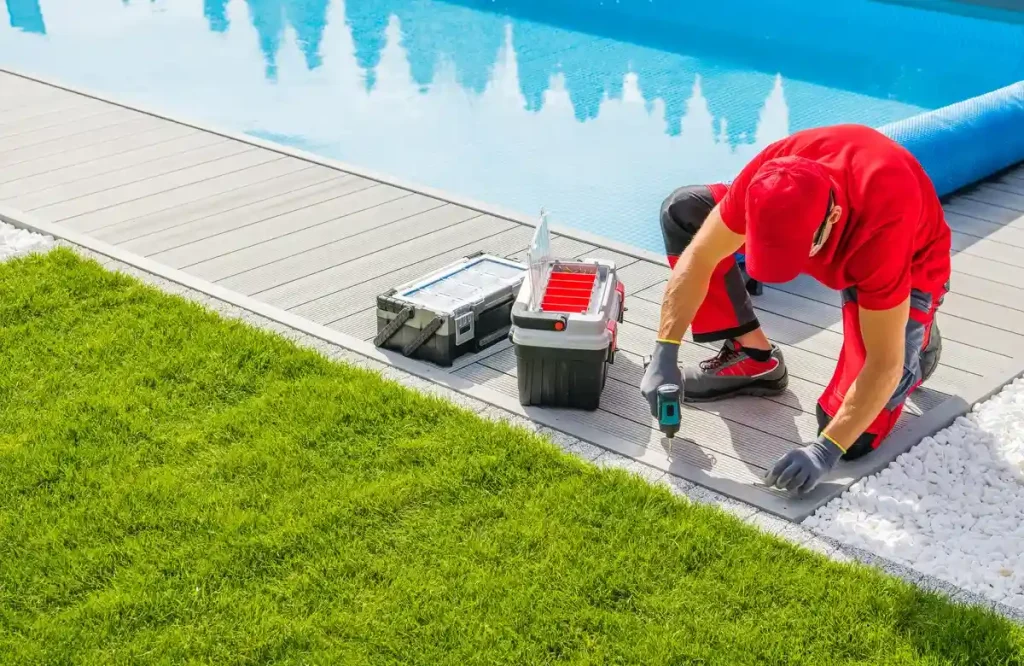
Installing a stylish composite deck is a perfect finishing touch for any above ground pool setup.
Above Ground Pool Setup: Step-by-Step Process
Setting up an above ground pool might seem hard, but it’s doable with a clear plan. Whether you’re getting a above ground pool rectangle or a circular one, the steps are the same.
Site Preparation: Begin by clearing the area for your above ground pool setup. Remove debris, level the ground, and make sure it’s firm.
Pool Base Installation: Put down a strong base, like a pool pad or sand, for a level and stable surface.
Wall Assembly: Follow the maker’s guide to build the pool walls. Make sure they’re strong and secure.
Liner Placement: Roll out the pool liner and slide it into the pool carefully. Avoid wrinkles and air pockets.
Filling and Filtration: Connect the water supply and start the filtration system to fill the pool.
Water Treatment: After filling, test the water and add chemicals to keep it balanced.
Safety Features: Install safety gear, like fencing or ladders, for a safe pool area.
By following these steps, you’ll soon enjoy your above ground pool setup. Always put safety first and follow the manufacturer’s guide for the best results.
“Setting up an above ground pool can be a rewarding DIY project, but it’s important to take it step-by-step to ensure a successful and safe installation.”
Installing the Pool Base and Protection Layer
Getting the ground ready is key for your above ground pool. You need a stable and smooth base. This involves the pool pad and a sand base. Choosing the right materials and following the right steps will protect your pool liner and make swimming comfortable.
Pool Pad Options and Installation
An above ground pool pad makes your pool sit on a level surface. You have several options:
Concrete Pool Pads – They’re very stable and last long, but need more work to install.
Rubber Pool Pads – They’re affordable, easy to put in, and soft.
Foam Pool Pads – They’re light, simple to use, and help even out the ground.
Choose your pad wisely. Measure the area, clear the ground, and follow the maker’s guide for a solid install.
Sand Base Requirements
A sand base is also needed for a smooth foundation. Use coarse sand without debris, at least 2 inches deep. Spread it out, then press it down hard to make a firm base for your pool.
Protective Liner Installation
Next, put a protective liner over the sand. This liner keeps the pool’s bottom safe and makes swimming comfy. Roll out the liner carefully, making sure it’s flat and smooth. Follow the maker’s guide to secure it right.
By carefully installing the pool base and protection layer, you’re setting up for a great above ground pool experience.
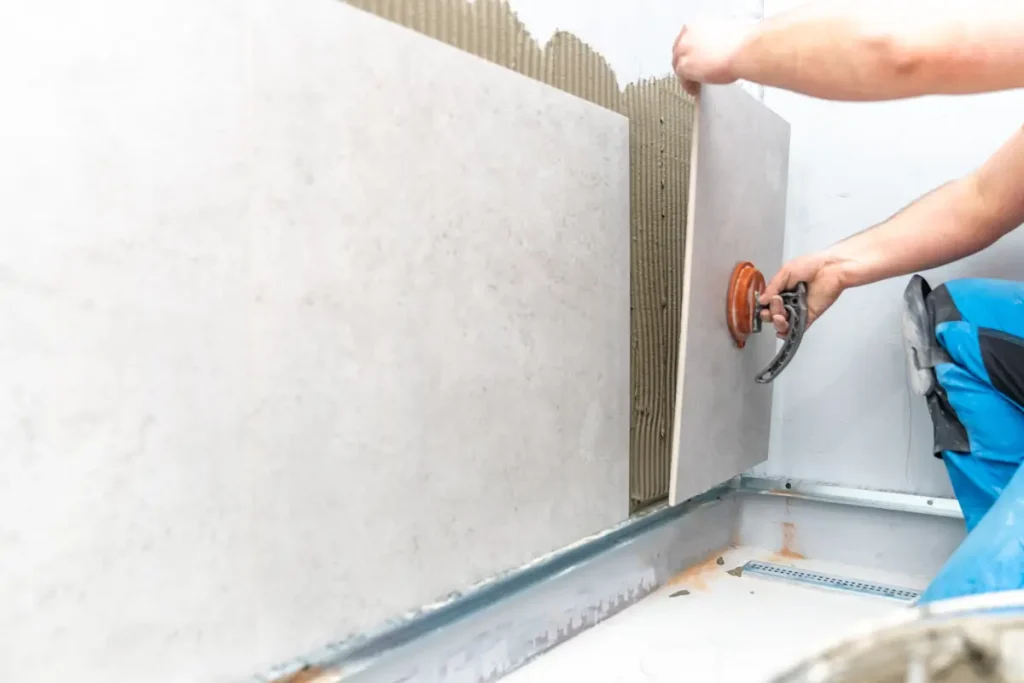
Expert tile installation ensures a solid foundation during the above ground pool setup process.
Wall Assembly and Support System Installation
Setting up your above ground pool starts with building the walls and installing the support system. This is a key step to make sure your pool is strong and can hold the water’s weight.
Aligning the Wall Panels
First, lay out the wall panels as you want your above ground pool setup to look. Make sure they’re straight and fit together well. Use a level to check if they’re even and adjust if needed.
Securing the Wall Panels
After aligning, secure the panels together. Use the screws or clips provided to hold them in place. Press down evenly on each connection to make sure it’s strong and even.
Installing the Support System
The support system, with its vertical posts and horizontal stabilizers, is key to your above ground pool rectangle‘s strength. Follow the instructions to install it correctly, making sure it’s level and well-anchored.
Keep checking the panels and support system’s alignment and stability as you install. This helps avoid any problems or damage to your pool later on.
Step
Description
Estimated Time
1. Lay out wall panels
Arrange the wall panels in the desired configuration and ensure proper alignment.
30 minutes
2. Secure wall panels
Use the provided hardware to fasten the wall panels together securely.
1 hour
3. Install support system
Follow the manufacturer’s instructions to properly install the vertical posts and horizontal stabilizers.
2 hours
4. Check alignment and stability
Verify the straightness and stability of the wall panels and support system.
30 minutes
By following these steps carefully, you’ll create a solid base for your above ground pool. This prepares you for the rest of the installation process.
Proper Liner Installation and Adjustment
Choosing the right liner is key for a great above ground pool look. You need to pick one that fits your pool and looks good. After finding the perfect liner, you must learn how to install and adjust it right. This avoids wrinkles and air pockets.
Liner Selection Guidelines
Think about the liner’s thickness, material, and color when picking one. Thicker liners, 20 to 30 mil, last longer and are less likely to tear. Thinner liners, about 15 mil, are cheaper but not as durable. Vinyl and resin liners are popular for their looks and durability.
Make sure to measure your pool well. A liner that fits perfectly is essential for a good installation.
Preventing Wrinkles and Air Pockets
Thoroughly clean and level the pool base before liner installation to create a smooth, even surface.
Gradually unfurl the liner, starting from the center and working outwards, to minimize wrinkles.
Carefully adjust the liner, using a pool vacuum or water, to remove any air pockets or wrinkles.
Secure the liner’s edges with coping or trim rings to maintain a taut, wrinkle-free appearance.
By following these steps, you can get a professional-looking pool setup. Your new liner will look amazing.
Setting Up the Filtration System
Keeping your above ground pool water clear starts with a good filtration system. This key part helps move water, removing dirt and stuff to keep it clean. Let’s look at how to set up your pool’s filtration system and make your garden a cool place to relax.
First, figure out where to put your skimmers and return jets. Placing them right can make water flow better and keep the pool clean. Skimmers pull water into the system, and return jets send clean water back into the pool.
Placement of skimmers: Position them equidistant around the pool’s perimeter for balanced suction.
Placement of return jets: Angle them to create a gentle, circular motion, directing the flow of water across the pool’s surface.
Then, hook up the pool pump to the filtration system. This part makes water go through the filter, getting rid of dirt. Make sure the pump fits your pool’s size and water flow needs for best performance.
Pool Size
Recommended Pump Size
12′ x 24′
1 HP
16′ x 32′
1.5 HP
18′ x 33′
2 HP
By planning where to put your filtration parts and picking the right pump size, you’ll have a great above ground pool setup. It will turn your garden into a cool and welcoming spot.
Water Chemistry and Initial Treatment
Keeping your above ground pool water chemistry right is key. It ensures your pool stays clean, safe, and fun. Let’s look at the important steps to get your pool’s chemistry just right.
Basic Chemical Balance Guide
For a balanced pool, watch and adjust the levels of chlorine, pH, alkalinity, and calcium hardness. These elements work together. They keep the water clean, pH balanced, and the pool healthy for swimming.
Chlorine: Keep it between 1-3 ppm to kill bacteria and algae.
pH: Aim for 7.2-7.6 to avoid skin and eye irritation.
Alkalinity: Keep it between 80-120 ppm to stabilize pH.
Calcium Hardness: Aim for 200-400 ppm to prevent scale buildup.
Water Testing Procedures
Testing your pool water regularly is crucial. Use a good test kit or send a sample to your local pool store. Test at the same time each day to track changes.
Test
Ideal Range
Frequency
Free Chlorine
1-3 ppm
Daily
pH
7.2-7.6
Daily
Total Alkalinity
80-120 ppm
Weekly
Calcium Hardness
200-400 ppm
Monthly
By following these tips and keeping an eye on your pool’s chemistry, you’ll enjoy a safe and clear above ground pool setup in your backyard.
Safety Features and Fencing Requirements
Keeping your above ground pool safe is crucial. Local laws often require certain safety features and fencing. Make sure you know the rules in your area before setting up your pool.
A strong fence is usually needed for above ground pools. The fence must go all around the pool. It should have a gate that closes by itself and is hard for kids to reach. The height and style of the fence might also depend on local rules.
Think about adding pool covers, alarms, and non-slip surfaces too. Having the right safety gear like life jackets is important. Also, teach everyone who swims how to do it safely. This way, you’ll have a safe and fun place for your family and friends to enjoy the indoor above ground pool or above ground pool setup.
What are the essential tools and materials needed for an above ground pool installation?
You’ll need safety gear like gloves and goggles. Also, tools for measuring and marking, like a tape measure and level. Don’t forget a list of construction materials, including the pool kit and sand. Make sure you have everything before you start.
How do I choose the perfect location for my above ground pool?
Look for a spot that gets plenty of sunlight. It should also be close to utilities and follow local rules. Pick a location that’s easy to get to and meets all the necessary regulations.
What ground preparation and leveling techniques are important for an above ground pool?
Ground prep and leveling are key for a stable pool. First, test the soil. Then, use methods like digging or filling to level it. A stable base is essential for your pool’s support.
How do I set up the pool base and protection layer?
You can use a pool pad or sand as the base. Install the chosen material carefully. Then, add a liner to protect the walls and liner from damage.
What is the step-by-step process for setting up an above ground pool setup?
Start with site prep. Then, install the base and protection layer. Next, put up the walls and support system. Follow that with liner installation and setting up the filtration system.
How do I properly install the pool liner to prevent wrinkles and air pockets?
Choose the right liner size and type for your pool. Unroll and adjust it for a smooth fit. Use techniques to remove air pockets for a professional look.
How do I set up the filtration system for my above ground pool?
Install the pump, skimmers, and return jets in the right spots. This ensures water flows well and stays clear.