Plunge Pool Installation Process
For far too long, the pool-building journey has been filled with challenges, long-lasting problems, and extended timelines. At Pools-Now, we decided it was time for a change.
Our innovative approach simplifies the entire plunge pool installation process into just a few easy steps. This not only empowers homeowners and builders with greater oversight and efficiency but also ensures homeowners can bask in the luxury of a premium concrete swimming pool in a matter of days, not the traditional months-long wait.
Dive into simplicity with a Pools-Now Package:
10 Steps For a Pools-Now Plunge Pool Installation Process
There are a few plunge pool installation process that should be followed in order to properly install our plunge pool. So let’s discuss them to give you a complete overview of what to expect:
1. Choose Your Pool Size
Review our detailed specifications available for our Arena, Studio, Original, and Max packages. Selecting the perfect fit for your project has never been easier. If necessary our experts will help you to select the pool as well.
Simple, isn’t it? At Pools-Now, we provide transparent quotations for the supply, installation, and delivery of your desired pool with necessary configuration, and equipment.
Dive into clarity and ease with Pools-Now.
2. Placement and Installation Depth
Where do you want your pool and equipment? Is there easy site access? Do you want the pool in-ground, above-ground or semi-recessed?
Choosing the right place for your plunge pool installation is the first step in designing your yard with a pool. You can check out the gallery section to get an idea about where to install your pool.
We will provide you with our much-needed expertise and guide you in the whole process of selecting the perfect place to install the pool.
3. Pool Floats
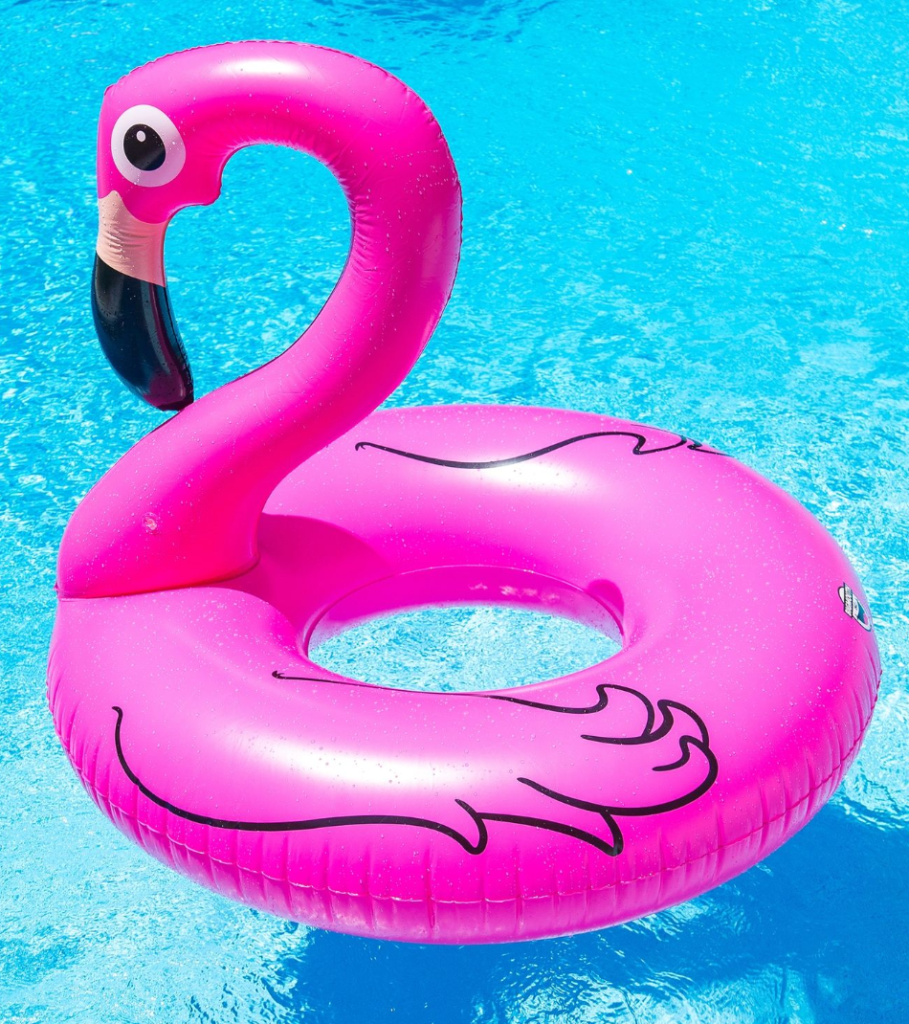
We recommend either Pink Flamingos or Sharks.
4. Permits
We apply for county/city permits and inspections.
5. Site Preparation
We form a concrete slab and footing, specific to the particular to your soil type of the site.
We’ll supply standardized base preparation requirements for each pool model, covering the slab specification and excavation plan.
According to your requirements, you can modify the pool and you can select the interior coating of the pool according to your choice.
6. Pool Delivery and Crane Date
We will provide a crane and according to our schedule, we will have our crane lift the pool from our delivery truck and place it onto the slab.
7. Equipment, Electrical, Plumbing, and Back Fill
We take care of all of these steps for required types of equipment, electrical needs, plumbing tools, and backfill.
8. Fill and Start-Up
Once your plunge pool installation process has had its final inspection, we can fill your pool. It will take anywhere between 6-12 hours to fill with a garden hose. (We can option a commercial fill)
9. Decking
Our plunge pool install package includes three feet of concrete decking around your pool. We can customize it to your dreams.
10. Extras
In our plunge pool installation process we provide Pump, Filter, and Chlorinator systems – but do you need more additional gear?
You can choose from our equipment package list. This would include:
- Automation – Run everything from your phone
- Spa Jets – Who does not like spa jets?
- Heating – For those chilly nights
- Cooling – For those hot days!
- Solar – Heating or Cooling properties.
- Salt, UV, Ozone – Personal Preferences
- Waterfalls – Sounds of Serenity
- Bench Seating (semi-recessed)
